How to…..
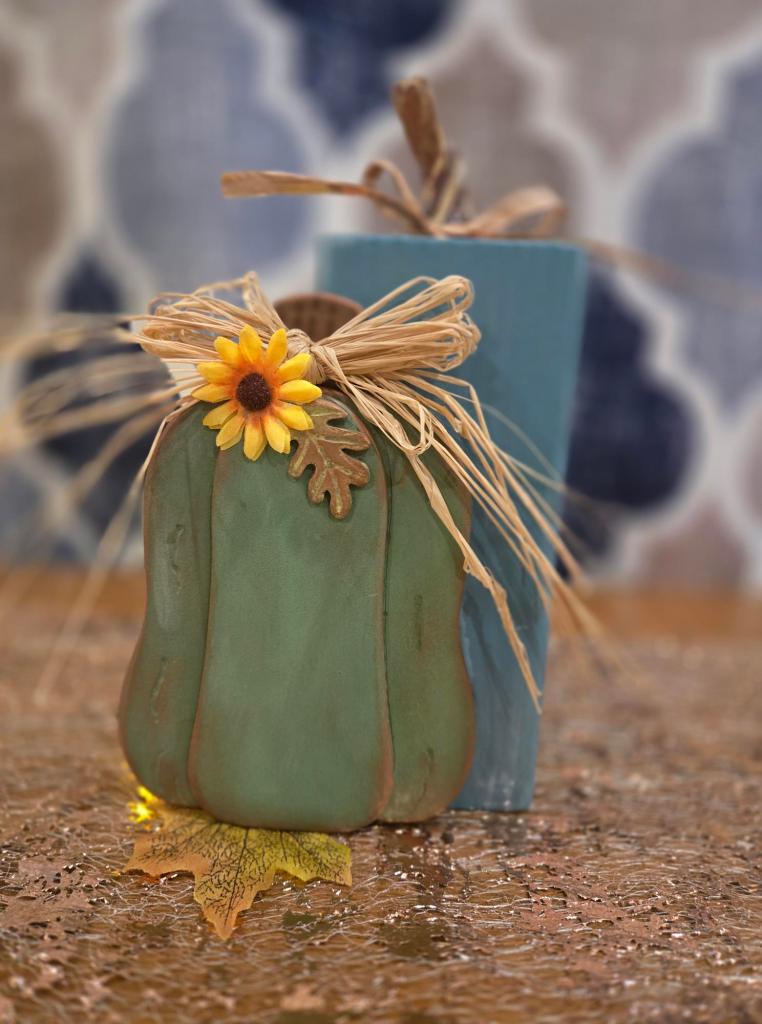
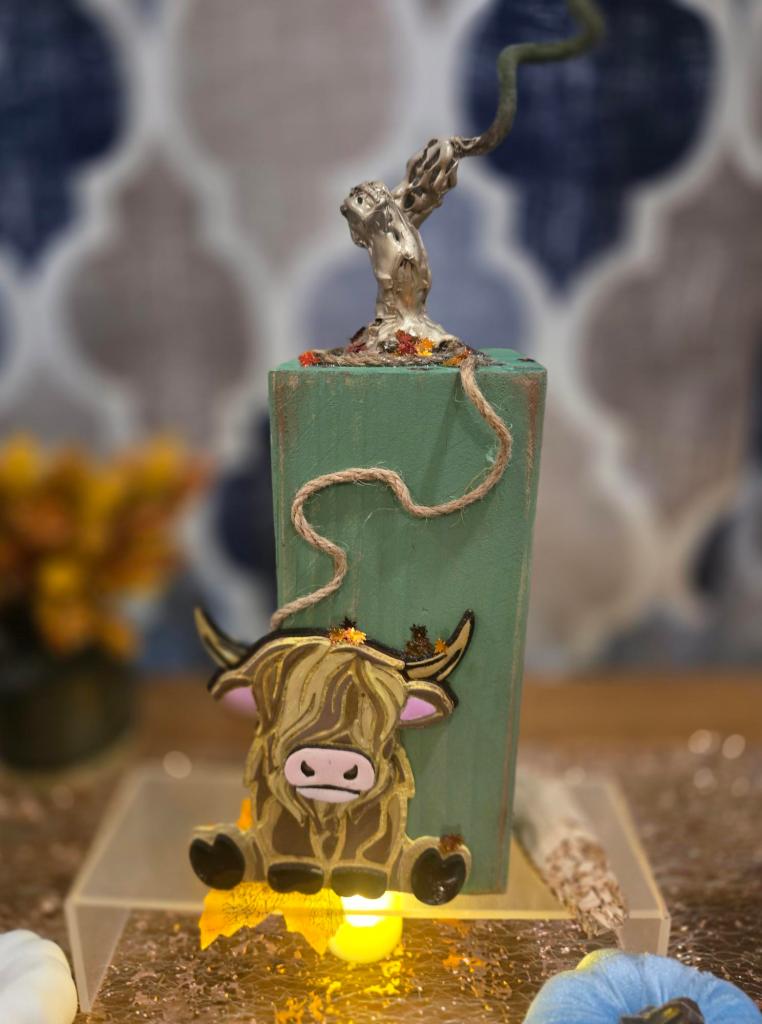
This craft is a bit more extensive. The cow on the green pumpkin is made with my Glow Forge laser and the Blue pumpkin with the green squash is cut on my scroll saw or i call it my girl saw lol. So it requires some heavy lifting if you know what I mean. Both are not hard to use after some practice. You can purchase the add on on Etsy from someone I am sure, or you can message me and we can work something out. You do not have to add the extra stuff on at all.
Items needed (read direction before buying)
4x4x8 Douglas Fir from Lowes (I had them cute them by 8 inch for me) and another at 4 inches for baby ones.
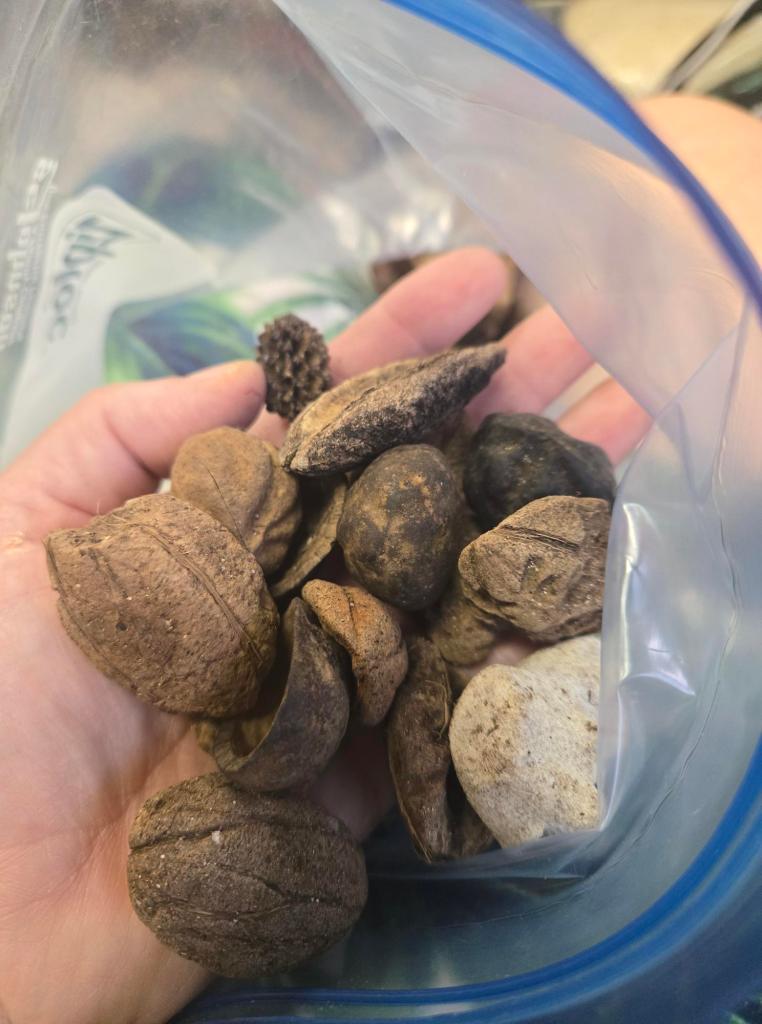
A spaghetti squash or pumpkin stem OR a medium size pumpkin stem mold from Etsy
Spray Paint of your choice
Natural Raffia Ribbon
Cow decor or wood sheet for laser -You can but embellishments from Hobby Lobby or a Thrift store.
Sand paper 80, 120, and 220
Straw for bow
Natural Jute
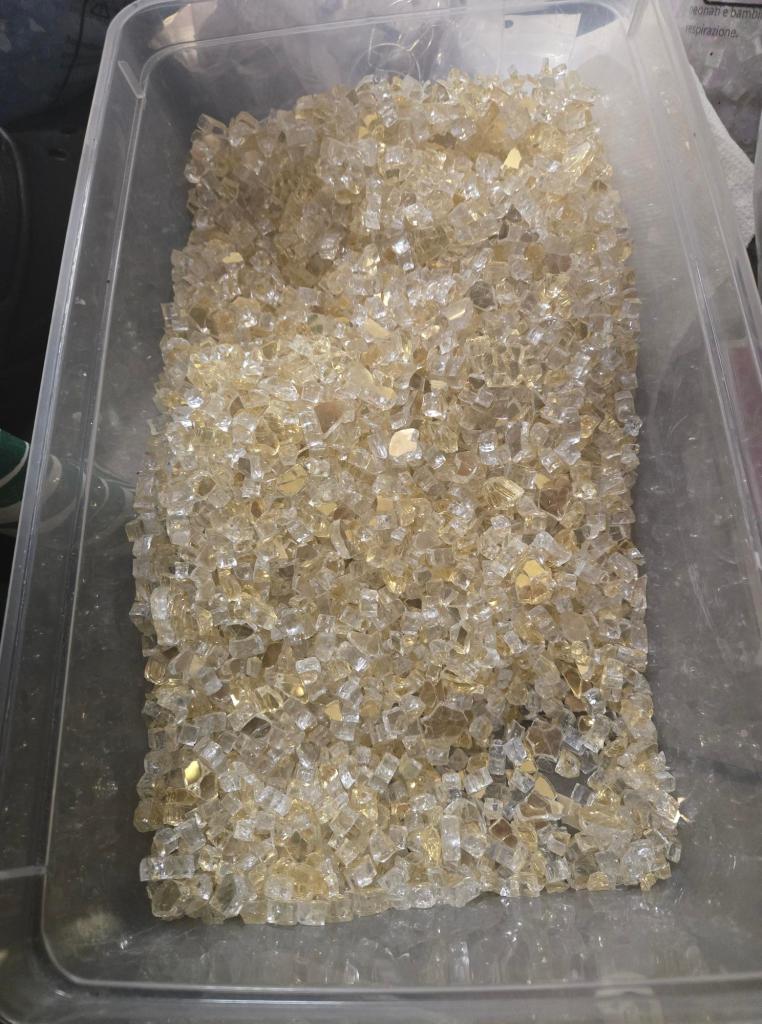
Copper or gold antique wax or gilding wax or paint to make it look old but this step is NOT needed
Glue ( I used resin and super glue)
Lets get started on the Pumpkin with the Highland Cow / whatever embellishment you want.
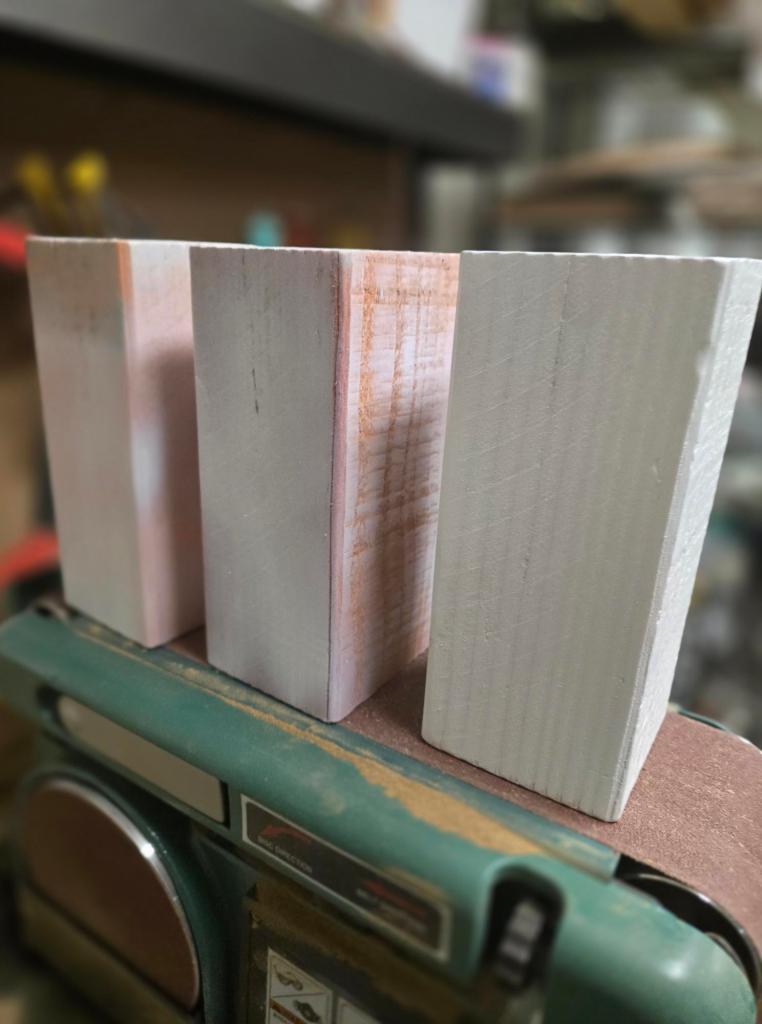
Sand your block starting with the lowest grit sand paper 80 then work you up to the 220. By the time you get to 220 it should feel like butter. Okay, I exaggerated because wood is wood. I spend a extra minute on the corners to round them slightly. This is not going to be furniture so there is no need to go too crazy. Make sure it is dust free before moving on.
Next, is painting. Grab your color of choice and spray two light coats and let it dry for 10 minutes. Then do a heavier coat and let dry for 15. Then if you want to spray a layer of sealant or shellac do that now. Nothing too shiny but more of a protection. Let it dry for 30 minutes. Remember to think about what you like and what fits into you home.
Okay we have to make the stem now. My husband threw away my spaghetti squash stem so, ya. The one I have on there was made from a few pipe cleaners twisted and layered up with hot glue. After I got it fat enough I sprayed it with gold paint. After 15 minutes respray missed parts. It will take about 20 to 30 minutes to dry. There are a ton of videos on YouTube with a million different ways to make Punkin stems with a million different materials so don’t throw in the towel if mine don’t work for you.
An easier way to make a stem (and what I do now) is to buy a medium size mold for resin from Etsy. Or you could make it out of air clay or polymer clay. Simply follow the direction on the package. Or you can buy real stems (YES real) on Etsy. Resin stems needs to set for a day then I put it in the freezer for 20 minutes before removing. It’s kind of like removing a child from a toy store. It doesn’t want to come out. You will get it but if you struggle with it too much watch YouTube video’s about how to remove resin from a difficult mold. Remember this is your art you do what you want to do.
Glue the stem on. Make sure it is completely dry before moving forward. I sand the bottom of my resin stem till it is almost flat. Then glue with your of choice. I use a tiny resin for glue.
Now you want to add decor i.e. a cow if that’s what you chose. I can not give you a link for the highland cow that I use because it comes in the Glow Forge App. You can buy a precut one from Highland Cow Farmhouse Decor on Etsy and Choose the 3.75×3.75 one. Or message me here or on Etsy @ https://sandybeachbabe.etsy.com if you want to buy it from me. Up close you can see all the flaws on my cow but on the pumpkin it looks great. If you have a laser printer look up svg highland cow on Etsy.
Next is to add your flair like I added some leaf glitter and wrapped rope jute around the stem. I kind of look at my piece and see what I think I want to add. It’s a fluid artistic movement. I sanded the corners down (beforehand) and then used some cooper antique wax on them.
Glow forge up to $500 off coupon https://share.glowforge.com/5zcah77s I get compensated for this. So thank you in advance.
My Facebook Page https://www.facebook.com/quacksallday/ You cam message me or shop.
Etsy Page https://sandybeachbabe.etsy.com
If you try this l would love to see pictures. I will add how to videos on YouTube to link here soon.